Kitchen Island Lighting Ideas
When I surf Pinterest and Instagram, I see a lot of glamorous kitchens with amazing products and finishes. Of course, it’s the internet, so all of these kitchens are beautifully sunbathed with zero artificial light. Beautiful pendants are just hanging there as stunning decorations, not actual luminaires because Pinterest.
But we all know when the sun goes down, and it’s time to actually live in these kitchens the recessed cans go on. Those gorgeous cabinets get scalloped with too many lights too close to them, the sink is dark, and the under cabinet lights make the once amazing stone countertops look like they are covered in phosphorescent pearls, as they reflect back the poorly chosen under cabinet lights.
It’s time to light kitchens as beautifully as you have chosen the cabinet finishes and countertops. It’s time to make sure the light is working with your design instead of against it to create amazing spaces. For this little series on kitchen lighting, I’ve decided to work from the center out. We’ll get into how to handle recessed lighting for the room soon, but for this piece, I want to start with how to light the kitchen island.
The Tricky Island
Kitchen islands can vary in so many ways, but most bring together form and function. They operate as the centerpiece of the kitchen where food is prepared, breakfast is eaten, and guests are entertained. If your client is a family with at least one cook, the center island is often the thriving heartbeat of the home where all the significant conversations happen, and the family can come together. So from a design perspective, kitchen islands have to be both highly functional, but the light should also convey a sense of warmth and invitation.
The most common issue I find when it comes to kitchen island lighting is that it’s usually ONLY lit by pendant hung decorative lighting fixtures. The fixtures are often not bright enough to provide functional light for cooking and eating, so a brighter light bulb is put in. Then it’s too harsh and overpowers the room. Like any other feature or area of the home, it needs layers of light.
The Pendant
I’m all for glorious, beautiful, easy to clean pendants over kitchen islands. I really only have a few rules about kitchen island pendants.
They must be omnidirectional when it comes to light. (More on that in a second)
They should be no cooler in CCT than 3000K
They should hang at least 6-1/2 feet off the floor.
Omnidirectional
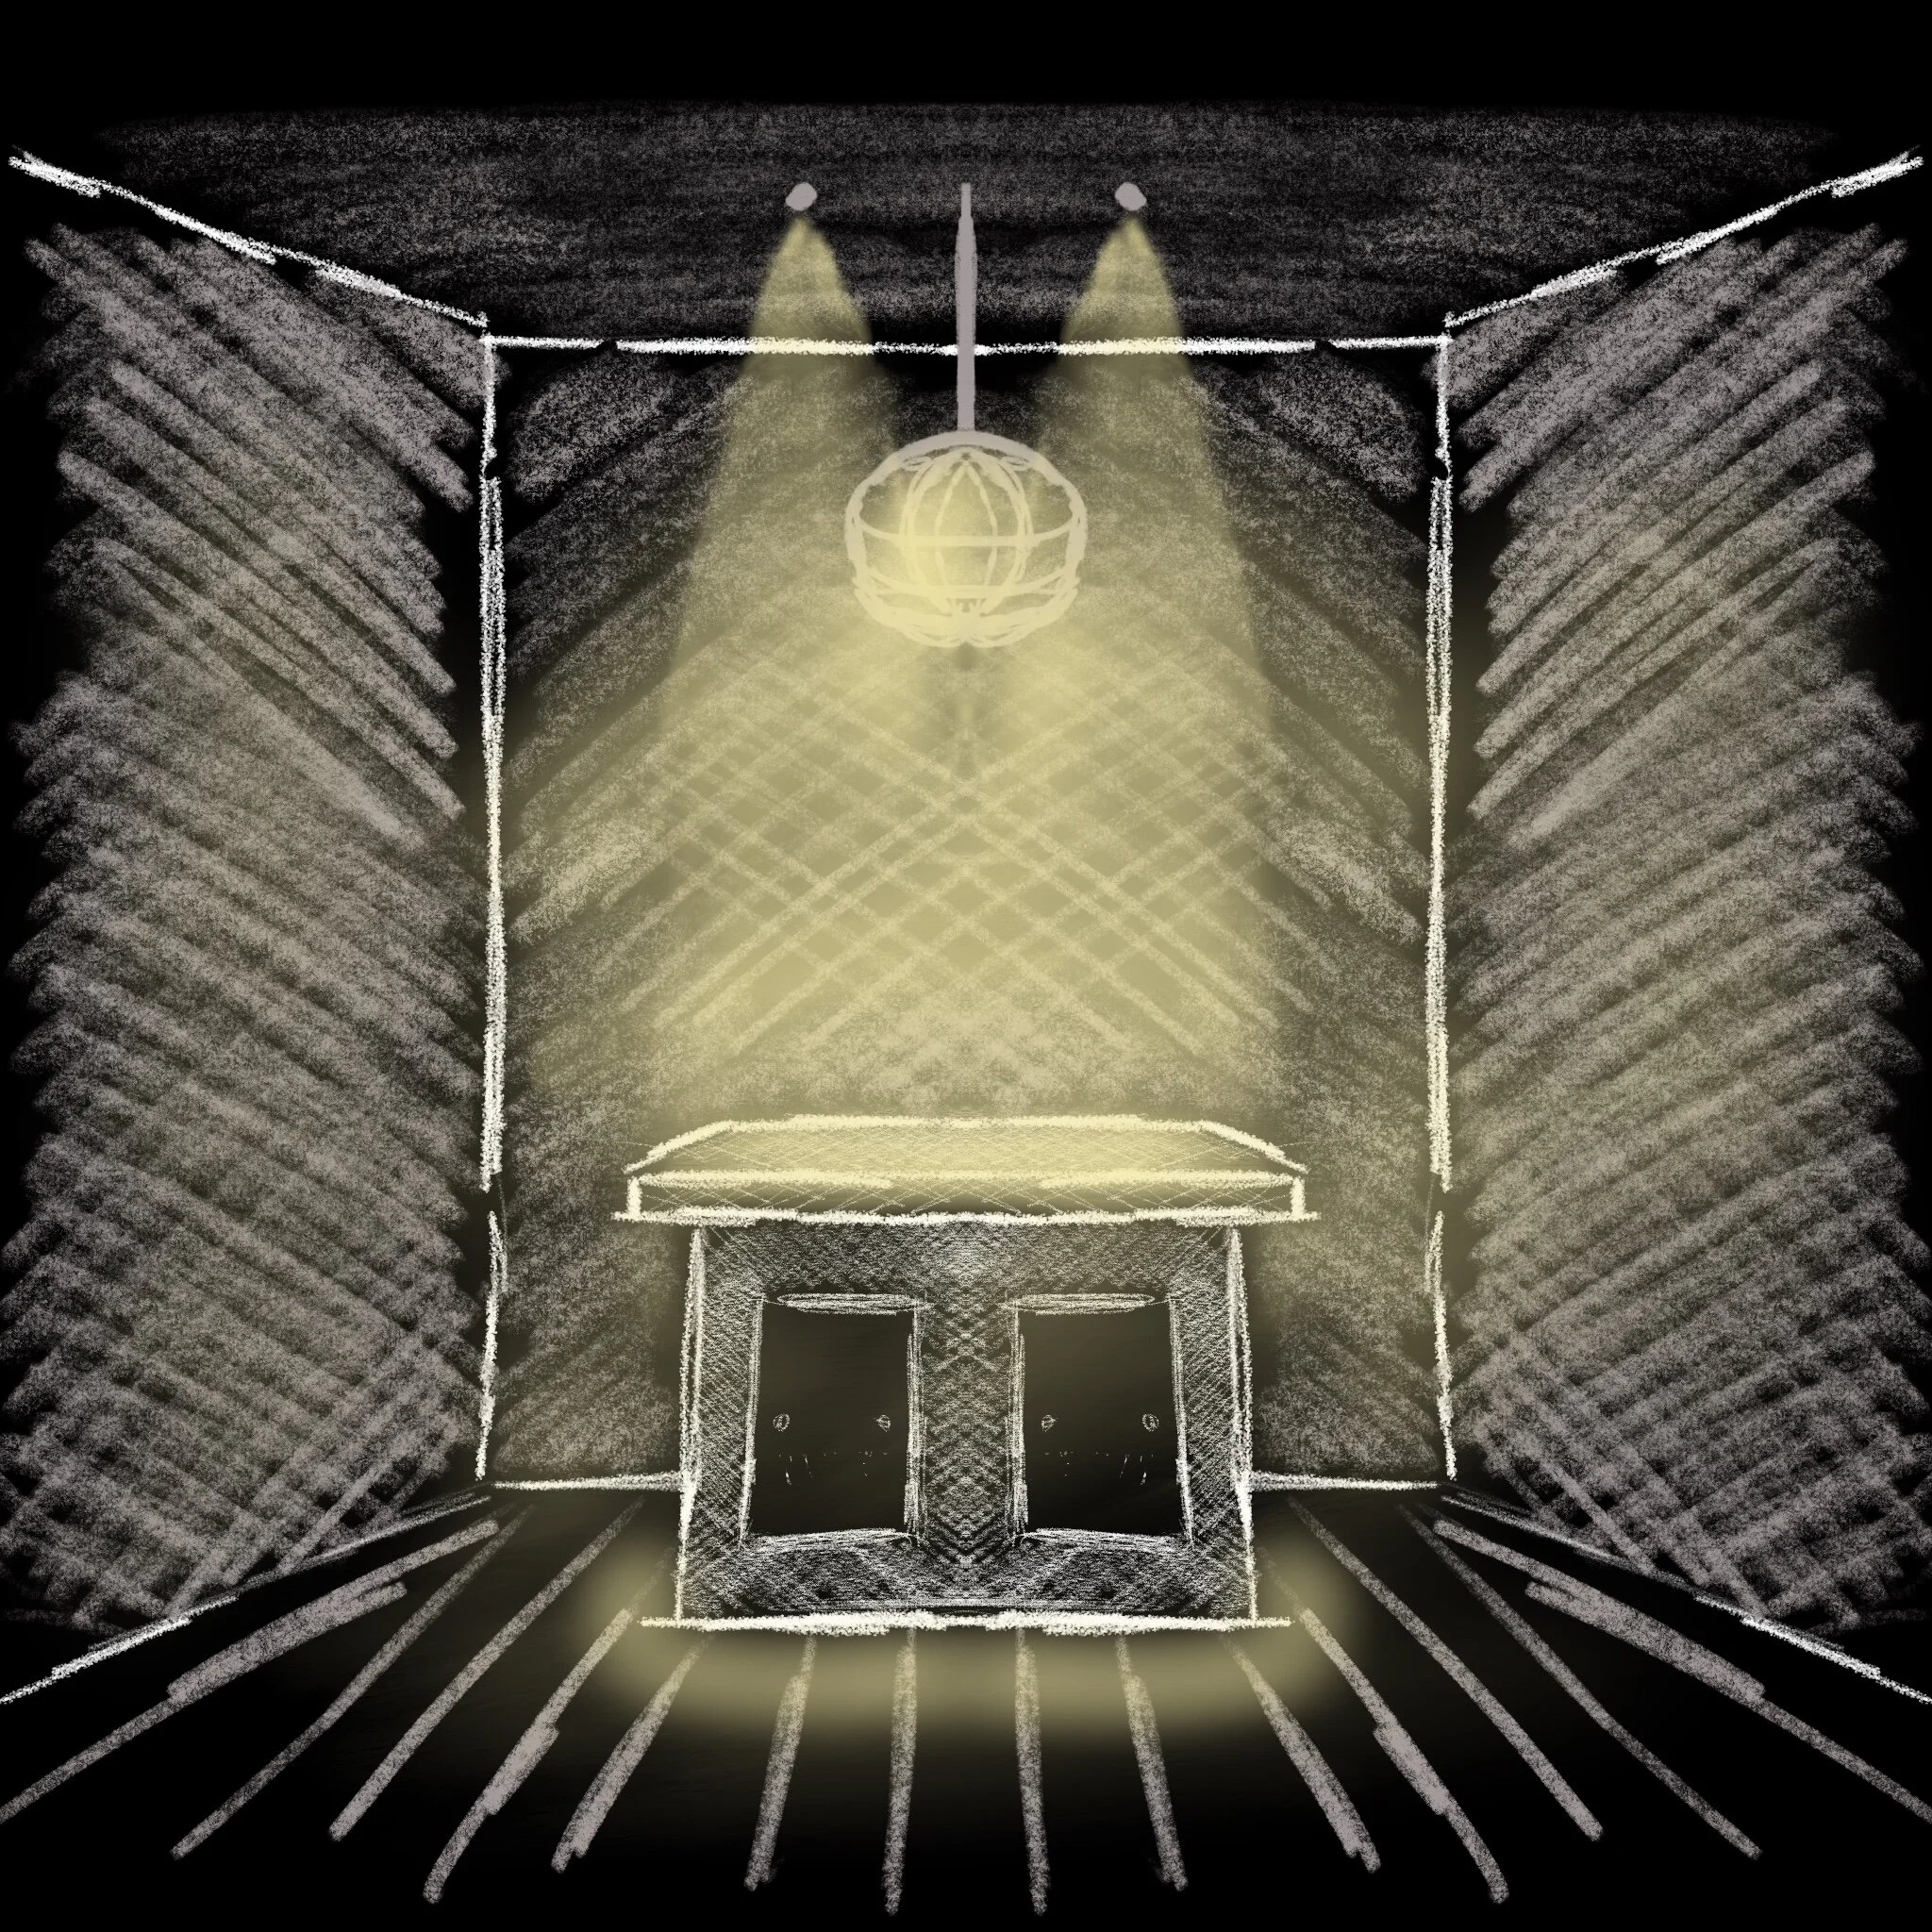
Take a look at the sketch. From a lighting perspective, the reason I want an omnidirectional pendant over the kitchen island is that usually, these pieces are in the center of the room. Casting a soft light in all directions will do a few things:
· Light faces – we are invited to spaces that light people’s faces softly.
· Light the rest of the room – this is the great “shadow killer” removing any harshness from the recessed downlights
· Soften the space - Kitchens tend to be very linear in their forms and feel. An omnidirectional center light source will soften all those edges.
No Cooler than 3000K
I used to be very preference-based when it came to CCT, recommending that designers ask their clients what they like. I’ve learned most clients don’t know what they want. When I do residential lighting, I aim for 2700K. Nothing cooler than 3000K. Someday I will write a longer post on color and light, but there’s already been so much written about it. For now, just trust me on this.
At least 6’-6” off the floor
This one might be controversial. I’ll put in a caveat here that maybe maybe they can be lower if they are smaller. I just have a personal pet peeve about standing at a kitchen island and looking through some immovable object when I’m trying to talk to someone. I’m not that tall, and often enough, I feel like I’m blocked by low hanging light fixtures.
Downlights
It’s hard to write about downlights for the kitchen island without going off into a whole thing about downlights in general. I might have to write that piece (hey, if you want that piece, email me and let me know), but until then, I’m going to assume some basics are understood about recessed downlights. Here are the rules of downlighting the kitchen island.
You need more than one.
It needs to have real optics
The aperture should be no larger than 4.”
It needs to have a lens.
More than one.
One downlight is a disaster, always - funky shadows and weird layouts. Don’t do it. So what should you do? See the last section on layout.
The downlight needs to have real optics.
Don’t let your electrician go to the big box store and purchase a can you stick a light bulb in. Performance downlights have optics. Usually, a reflector that controls the light coming out of the LED into a cone. This is important because instead of getting a big bright spot on your ceiling, you actually drive the view to the target that needs it. In this case, you guessed it, that target is top of the island.
The aperture should be no larger than 4”
If anyone is suggesting a downlight with an aperture size larger than 4” they haven’t been looking. 3” is generally what I recommend in residential applications. The small aperture means you’re less likely to see the flash of the opening and makes for a quieter ceiling.
Last thing, it has to have a lens.
For residential applications, I almost always recommend a lens at the aperture of the downlight. It softens the effect of the light at the ceiling line and the beam itself on the target, making the entire effect softer and more inviting. There are certain very narrow aperture downlights where it might not be appropriate to have a lens, but for the most part, a lens is appropriate.
The Layout
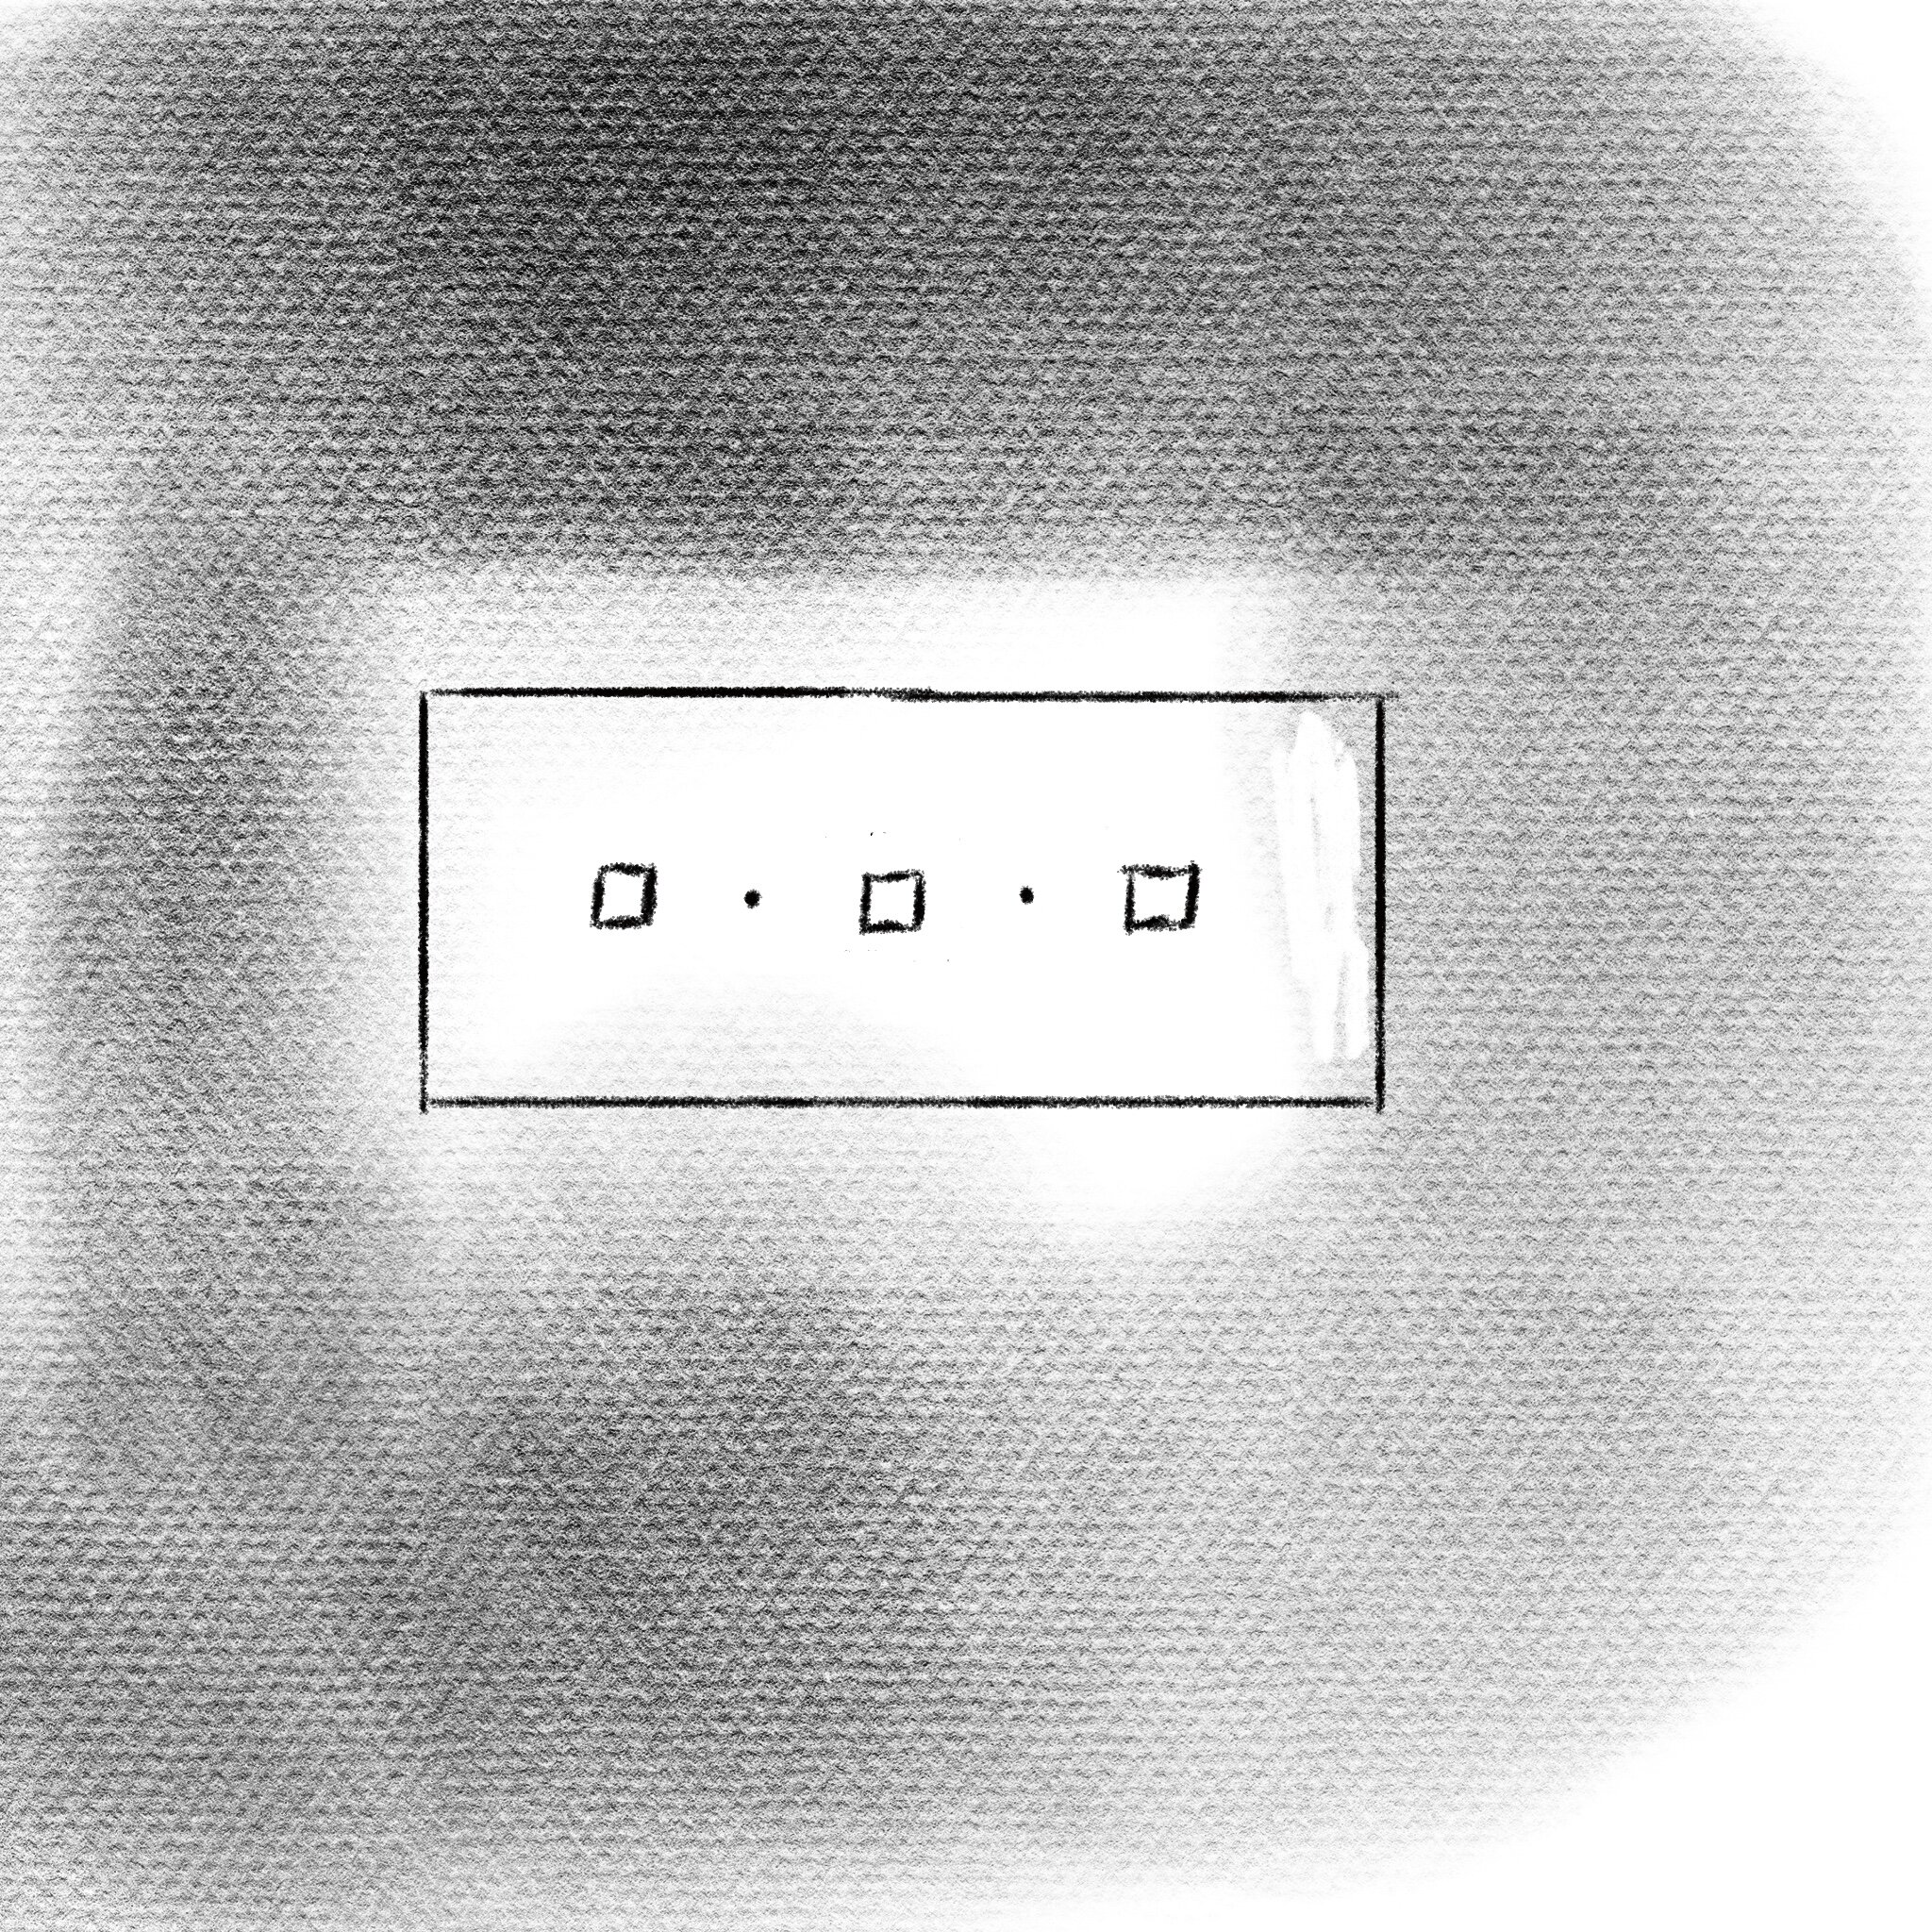
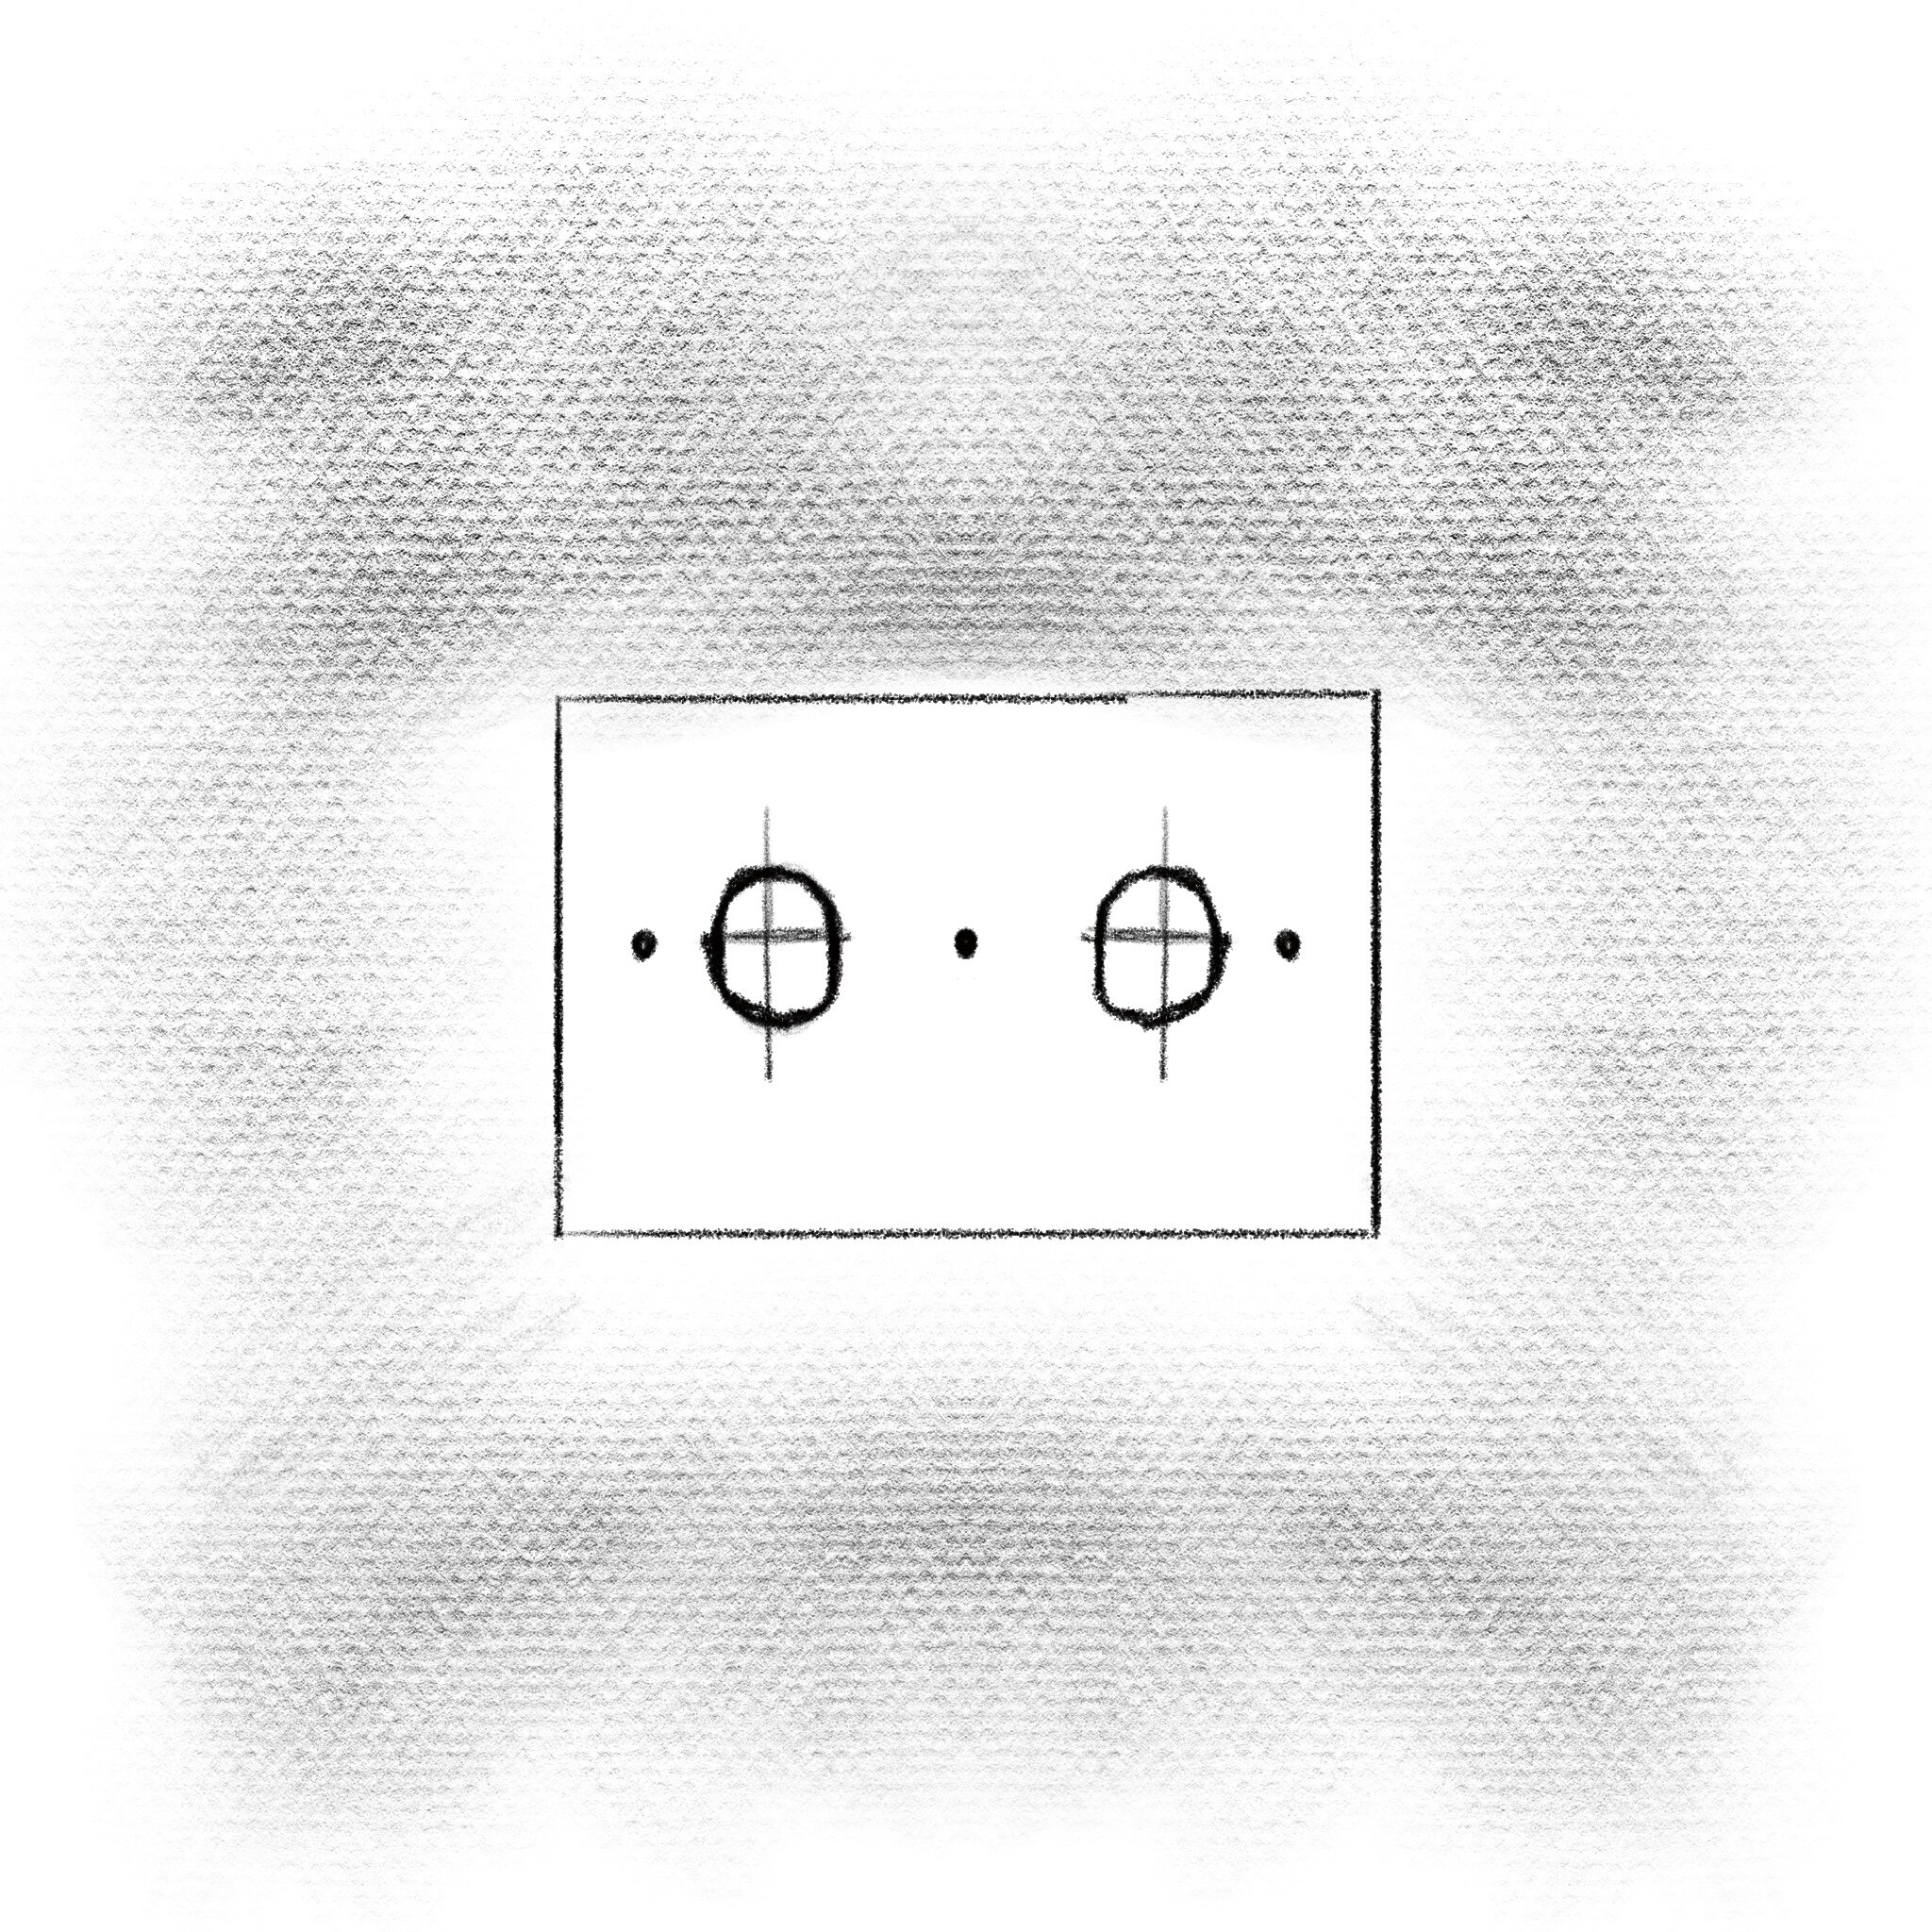
In short, alternate your downlights and pendants over the island. See the simple sketch below.
With this simple layer of light you’ll create an island that is both inviting and functional. It all comes down to the details when it comes to getting a lighting spec just right. Have questions? Email me!


